| 1 | DNS | 10.10.40.211 | Dns.ansil.com |
| 2 | YUM/NIM | 10.10.40.211 | |
| 3 | Xen Dom0 | 10.10.40.60 | Xen-base.ansil.com |
| 4 | Xen DomU1(node1) | 10.10.40.61 | Xen1.ansi.com |
| 5 | Xen DomU2(node2) | 10.10.40.62 | Xen2.ansil.com |
| 6 | Cluster Service IP | 10.10.40.63 | |
| 7 | Cluster management UI | 10.10.40.60 | |
10.10.40.211
DNS Configuration (BIND9)
Forward Zone Definition
www A 10.10.40.63
xen1 A 10.10.40.61
xen2 A 10.10.40.62
dns A 10.10.40.211
Reverse Zone Definition
63 PTR www.ansil.com
61 PTR xen1.ansil.com
62 PTR xen2.ansil.com
211 PTR dns.ansil.com
YUM
You need one 4 GB Partition mounted on /install
Copy All the contents from RHEL 5 DVD to /install directory
Take one copy of the following files to /tmp from /install/Server, Cluster, ClusterStorage and VT
comp-rhel5-server-core.xml
comp-rhel5-cluster.xml
comp-rhel5-cluster-st.xml
comp-rhel5-vt.xml
Remove repodata directory from Server, Cluster, ClusterStorage and VT in /install directory
Install creteaterepo .x.x.x.rpm first
#rpm –ivh creteaterepo .x.x.x.rpm
#cretaerepo –g /tmp/comp-rhel5-server-core.xml /install/Server
#cretaerepo –g /tmp/comp-rhel5-cluster.xml /install/ Cluster
#cretaerepo –g /tmp/comp-rhel5-cluster-st.xml /install/ ClusterStorage
#cretaerepo –g /tmp/comp-rhel5-vt.xml /install/ VT
Now your repository is ready
Create your client repodata files in /etc/yum.repos.d/
Server.repo, Cluster.repo, ClusterStorage.repo, VT.repo
========================================================
[Server] # Name of Repo
Name=Ansil’s repo # Information of repo
Baseurl=ftp://10.10.40.211/Server/ # Path to Packages
enabled=1 # Enable repository access
========================================================
The above contents will be in Server.repo
Likewise you have to create remaining repodata files
NIM(Network Installation Manager)
To install Linux through network you need one of the services like FTP/HTTP/NFS.
Here we are installing through FTP, for that we have to install vsftpd.x.x.rpm
#rpm –ivh vsftpd.x.x.rpm
Open /etc/vsftpd/vsftpd.conf
#vi /etc/vsftpd/vsftpd.conf
Add anon_root=/install to the end of the file
#service vsftpd start
#chkconfig –level 35 vsftpd on
Now our YUM and NIM are ready
Install RHEL 5 on a High end server with virtualization. That system will be your Dom0.
After installation edit your /etc/resolve.conf to point your name server
And also you need to ensure /etc/hosts entry.
You must have one partition with 25 GB space where you have to create your DomUs
Xen DomU1 & Xen DomU2.
Create your DomUs follow these steps
# virt-install
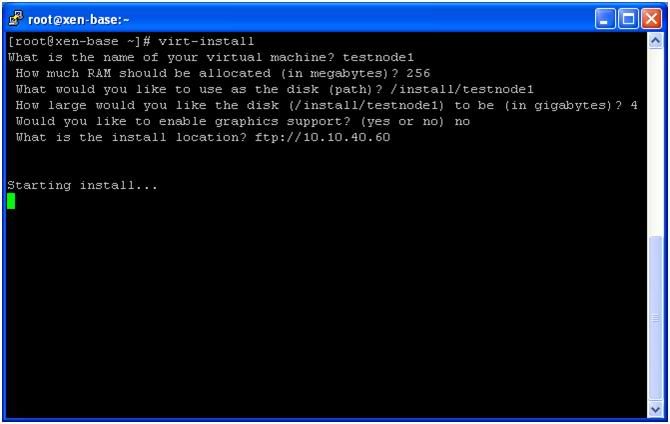
It will ask you
1.Name of the virtual machine(will referred by xen manager)
2.Amount of RAM in MB(eg:-265)
3.Disk path for installation(must specify with a file name like /xen-path/node1)
4.Enable graphical support (no)
5.Install location (ftp://10.10.40.60)
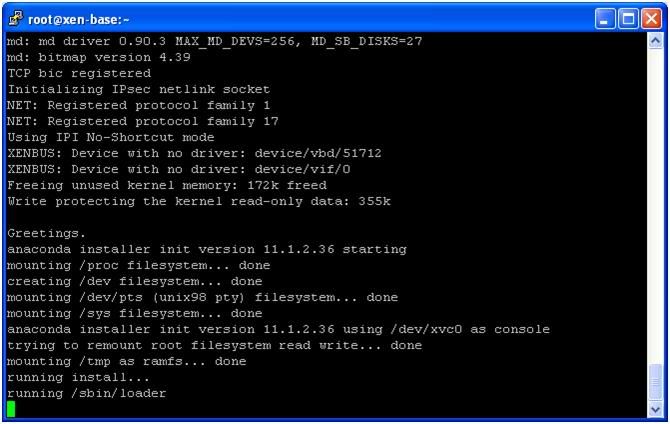
After providing the information the xen will start gust Os installation. Once it started installation it will be same as the normal redhat installation. Select with default options (most cases)
If all information you provided are valid you will get a window like this and Linux installer anaconda will be loaded
Select your Language

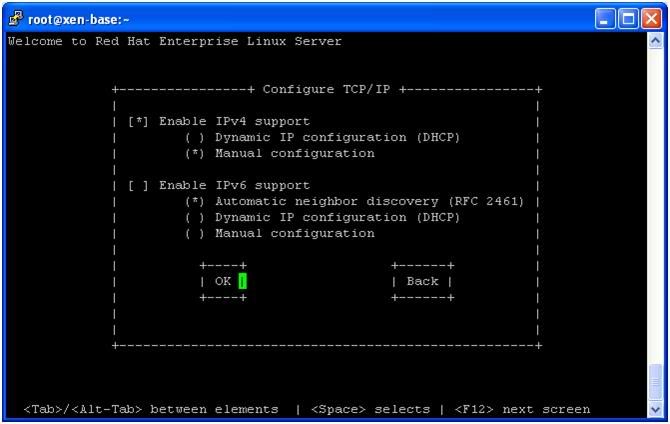
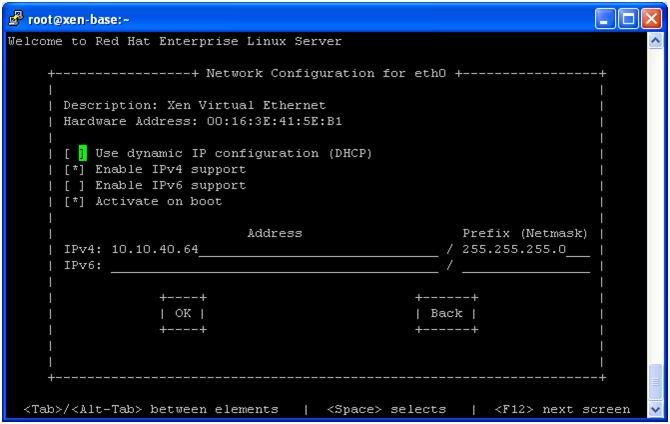
Select IPv4 Support and Manual configuration (You can’t use DHCP in Production environment)
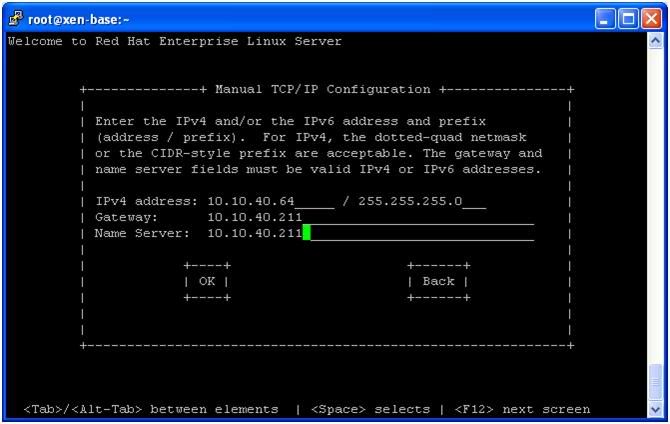
Provide IP address, Subnet mask ,Default gateway, and Name server
The next section will load files needed for running anaconda from NIM server

Anaconda starts installation in text mode
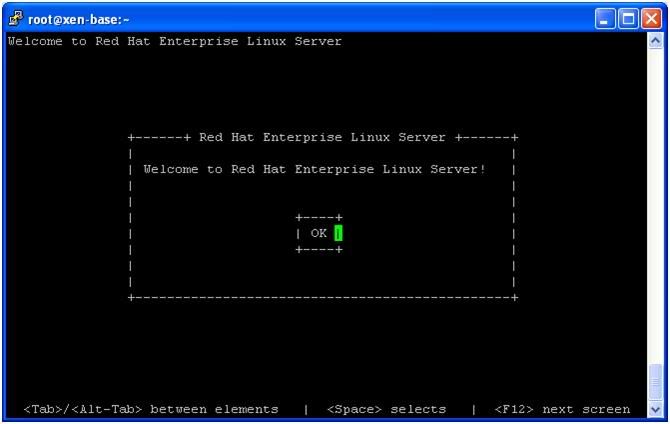
Welcome message

Enter Installation number
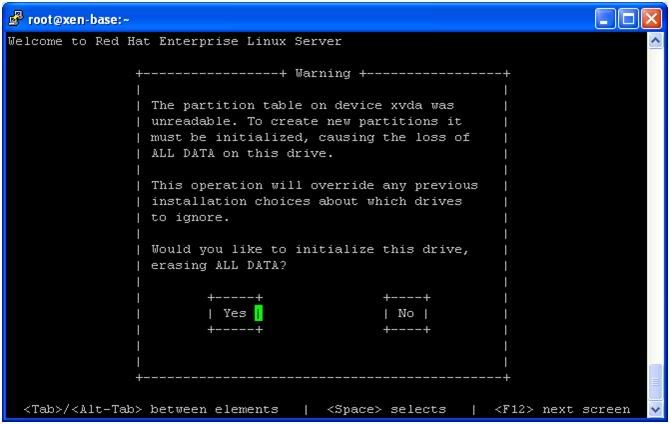
Ask your permission to erase data before starting installation.
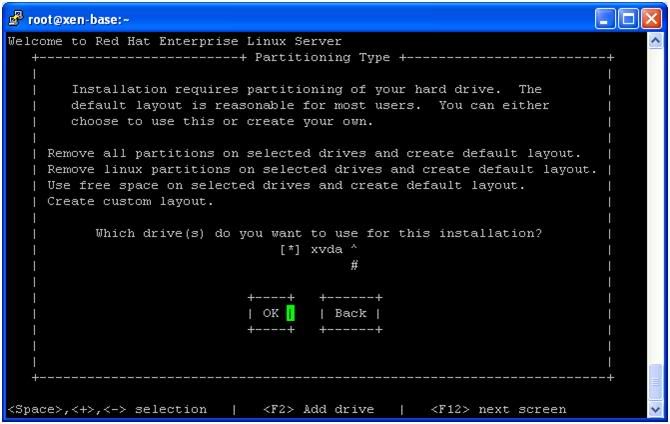
Select installation media
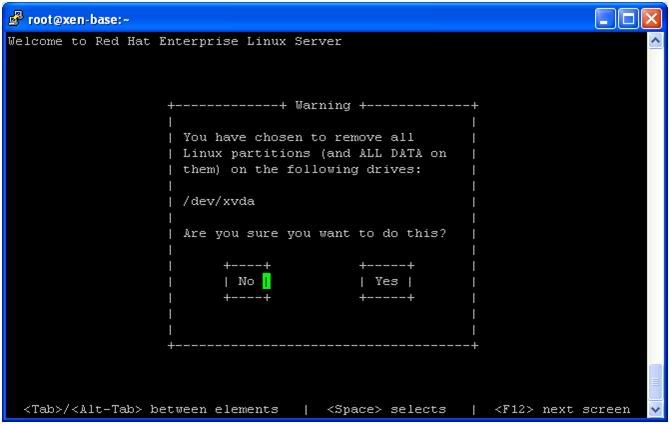
Once again it will ask confirmation before erasing all data from selected drives
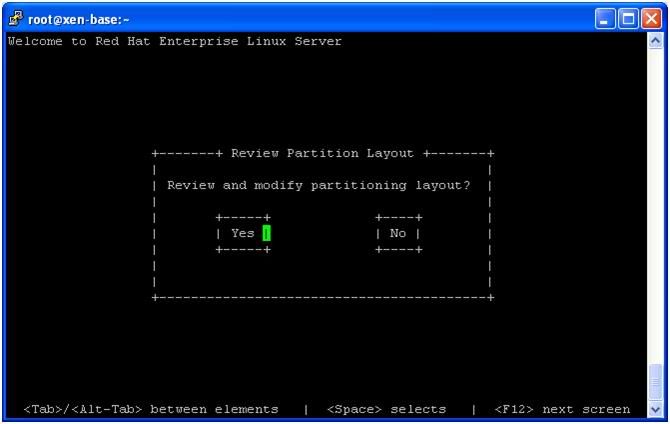
You need to modify your partition layout for a production system,but here we will go with default layout.So select No
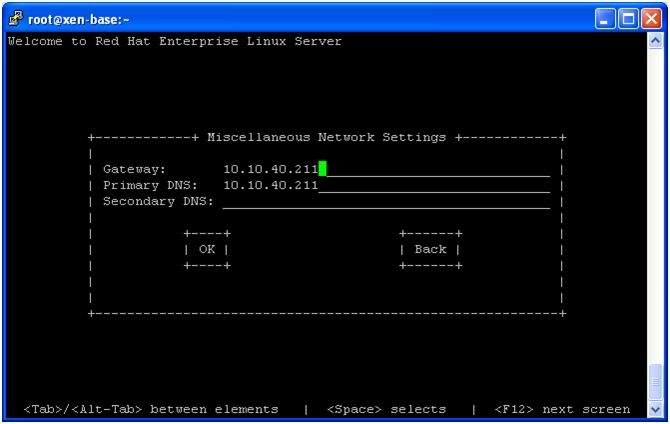
Once agian you can modify the network informations(It will show the values given at the time of creation)
Go with defaul values.
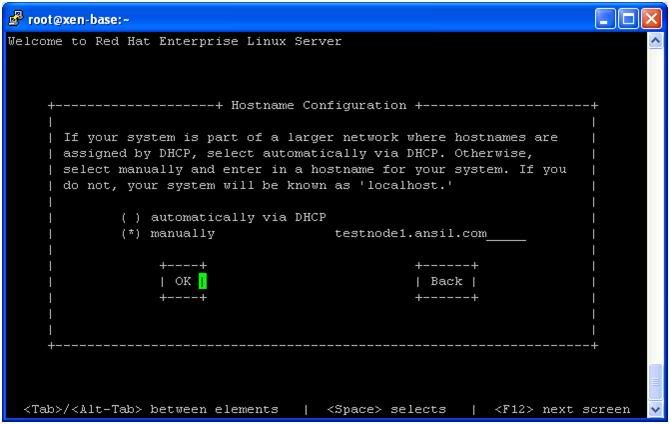
Enter a host name as pre-planned
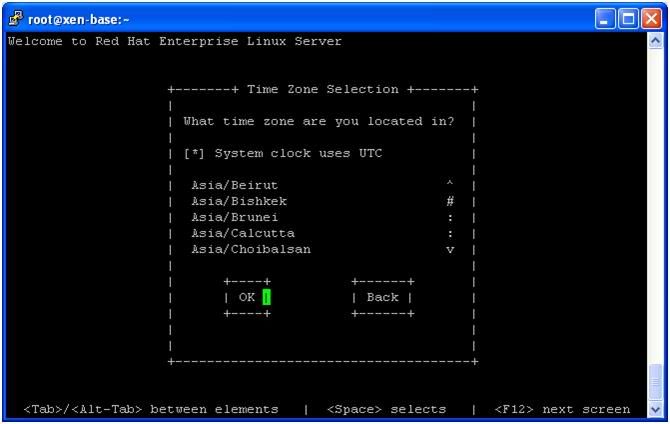
Select Time zone.
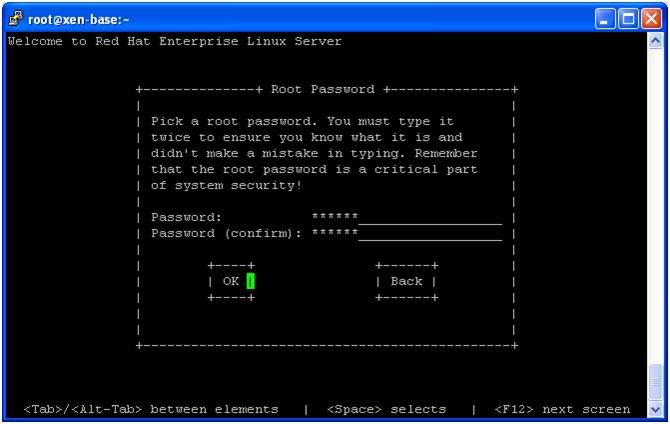
Provide root password
Starting installation
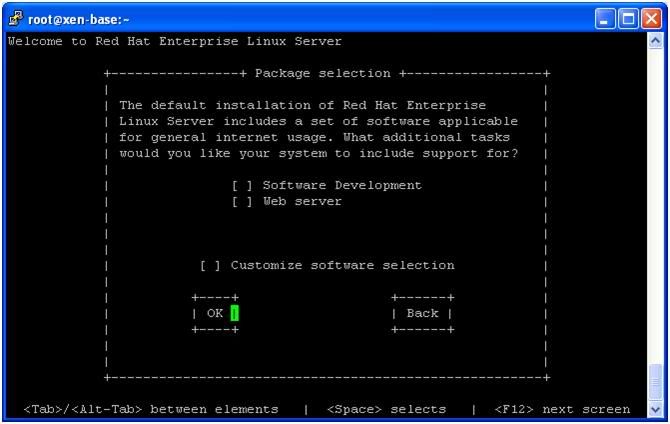
Go with default packages

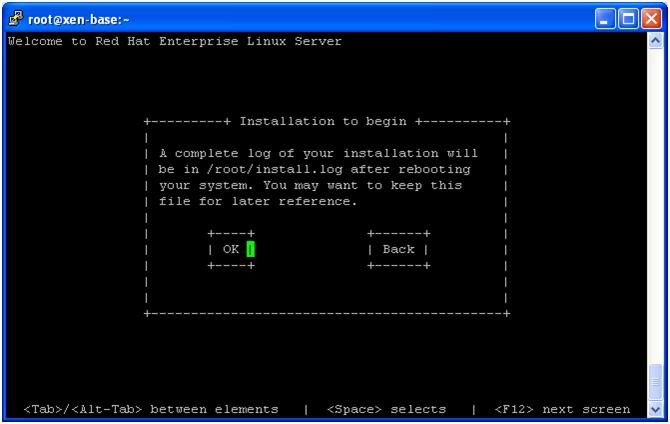
The complete information of installation will be in /root/install.log
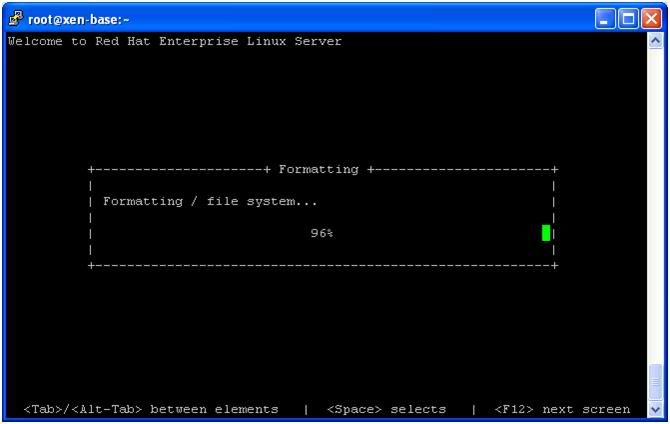
Formating file systems
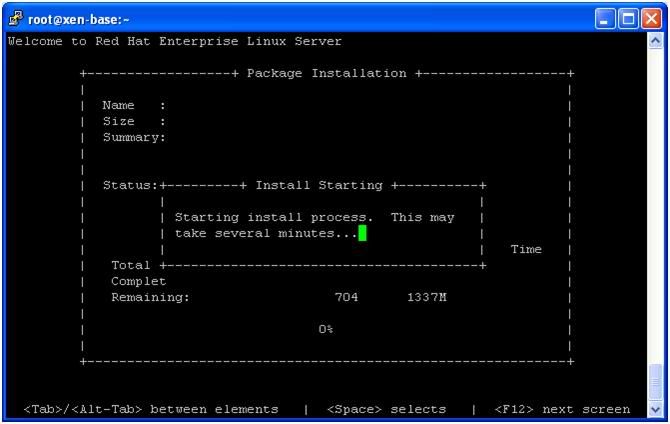
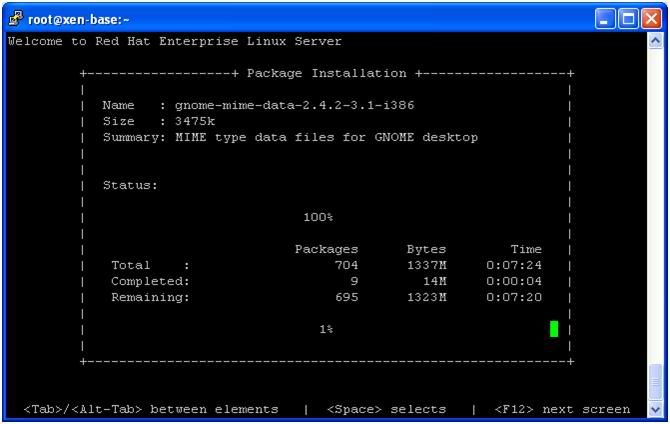
Starting package installation
You can follow the above steps for creating second DomU exept IP address and Host name
Now we will install Redhat Cluster Suite on Base Xen system,be sure your gust Operatting systems are down
#yum install “Clustering”
After executing this command you will be asked for a confirmation,type y.
It will install Redhat cluster suite in base system.
After installation start start ricci service
# service ricci start
Create one file called cluster.conf in /etc/cluster/ with the following contents
Now our base system is ready for Xen clustering.
# luci_admin init
Here you can set password for admin user here.
Start Luci service for management interface
#service luci start
You can now access cluster management in https://10.10.40.60:8084
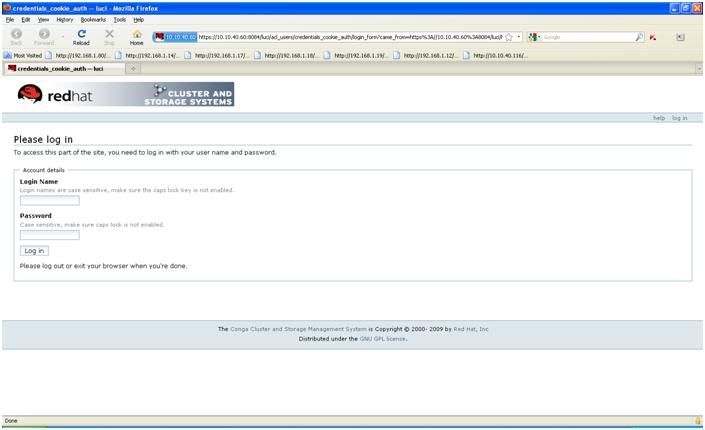
Login with user name admin and password as you entered at the time of luciad_min init
Go to add an existing Cluster
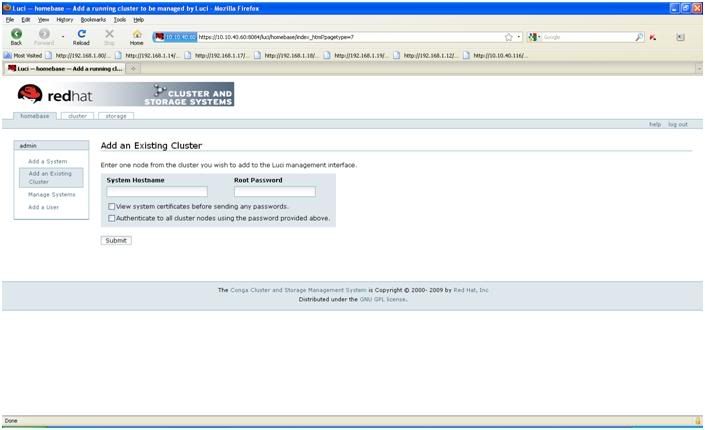
Here you can give one of the node in cluster, and it will be xen-base.Now our base cluster configuration is ready.
Start two services cman & rmanager
# service cman start
# service rgmanager start
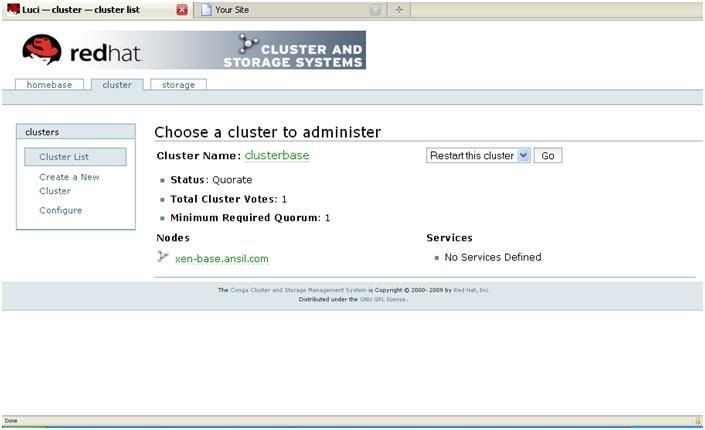
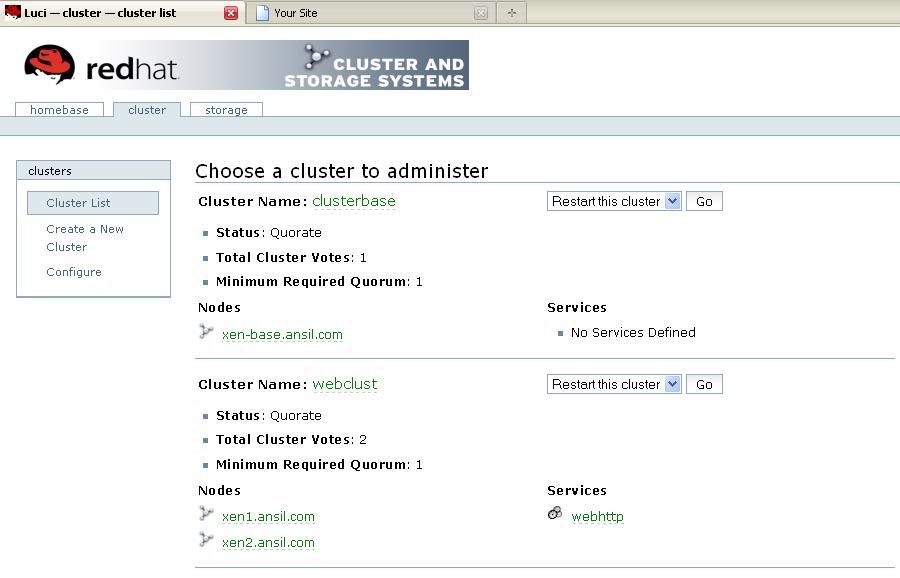
Now You can see your base cluster in Luci window in Cluster List
After starting these services we can setup our xen guest Operating system.
Start guest node1.
#xm create node1
Now node1 will start and you can access the console using
# xm console node1
Once the node is up transfer the repo files from Base system’s /etc/yum.rerpos.d/
#scp /et/yum.repos.d/*.repo xen1.ansil.com:/etc/yum.repos.d/
Accept the ssh key and type guest’s password the files will be transferred to xen1.ansil.com
Start the second node and do all the same done for node1.
Now we can install cluster suit on both systems using YUM.
# yum install “Clustering”
Also install apache on both nodes
#yum install http*
Now Cluster suit and web service are ready.
Now we have to create IP based virtual host on both nodes with cluster ip.
The configuration in /etc/httpd/httpd.conf will be like this
ServerAdmin root@xen1.ansil.com
ServerName www.ansil.com
NameVirtualHost 10.10.40.63:80
ServerAdmin root@xen1.ansil.com
DocumentRoot /var/www/html
ServerName xen1.ansil.com
ErrorLog logs/xen1.ansil.com-error_log
CustomLog logs/xen1.ansil.com-access_log common
Transfer this file to node2 also and change xen1 field to xen2
Now our Cluster service is ready.
Here the Game starts……………………
Now we have to start ricci service on both nodes
# Service ricci start
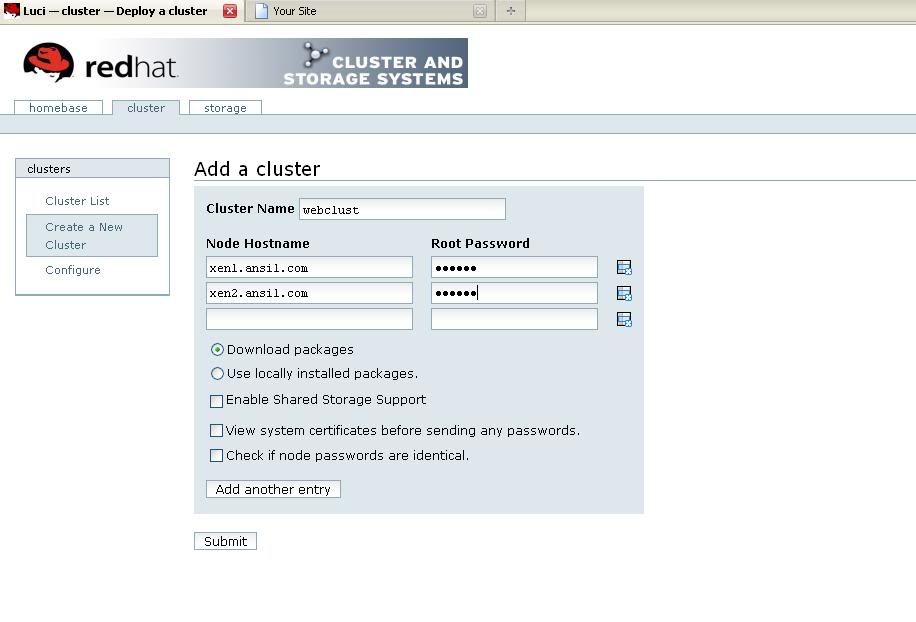
Go to Luci Cluster management -Cluster Create a new Cluster.
Cluster name – webclust
Node or host name – xen1.ansil.com
Node or host name – xen2.ansil.com
Also enter password for both nodes and click submit.
Now it will go through 4 stages
Download packages—rebooting—creating cluster—joining cluster
After completion of these stages you must have to enable cman and rgmanager in auto start
#chkconfig –level 35 cman on
#chkconfig –level 35 rgmanager on
And ensure ricci service is started
# service ricci status
Now you can see your cluster in Cluster list on Luci Web UI
Hurray…………………Our Operating system cluster is up………….
Now we have to add our web service-Apache in Cluster…..
Here the second part of Game starts….
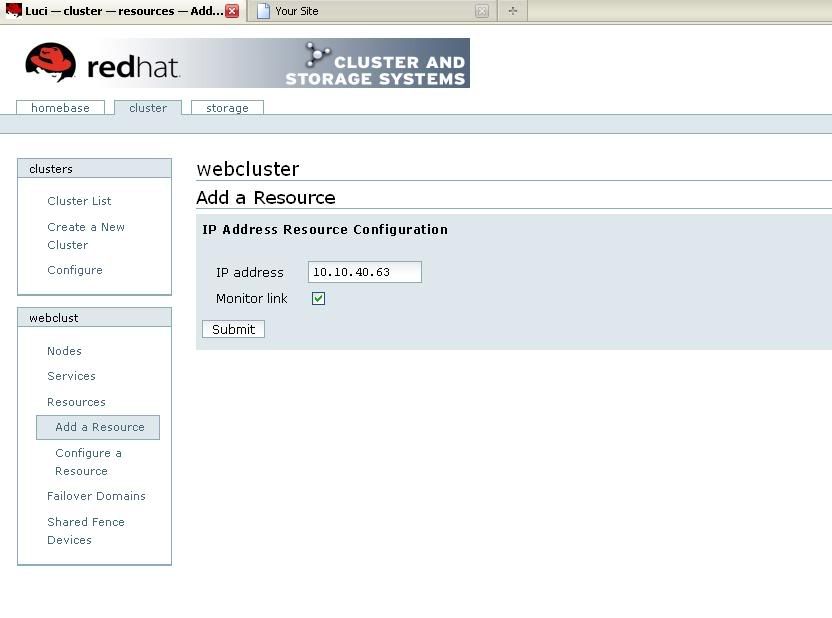
Add a cluster ip as a resource to our cluster
Go to Cluster ->Configure -> Select Webclust->resources->Add a resource->Select a resource type ->IP address
Enter the cluster ip here and be sure there will be tick mark on “Monitor this link”
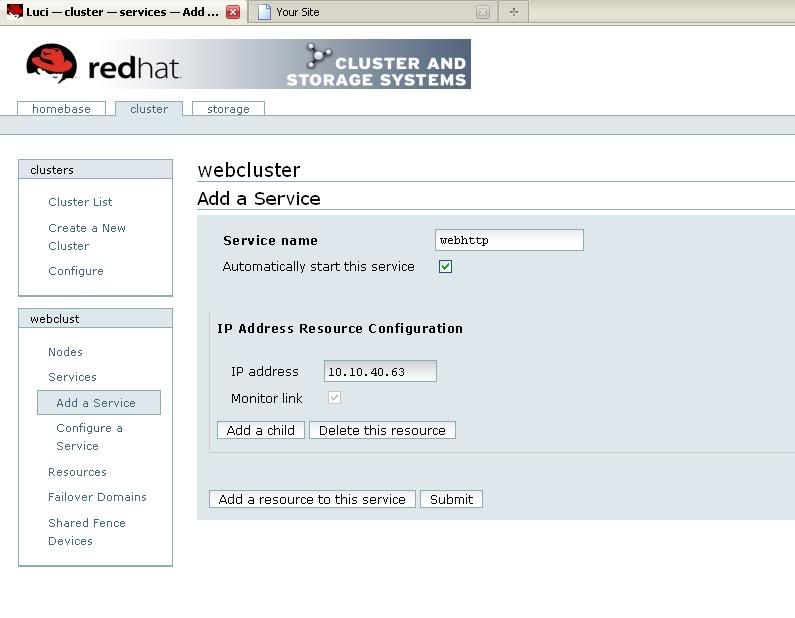
Now we have to create our cluster service
Go to Cluster àConfigure à Select WebclustàServicesàAdd a Service
Service name ---webhttp
Click “Add a service to this resource”
Select our pre defined resource from “Existing global resource “
And click on submit …now it will configure and add cluster service to our Cluster…
Here the third part of Game ….Fencing….
Go to Cluster ->Configure -> Select Webclust->Shared Fence device->Add a fence device->Select virtual machine fencing
Name-- xvm
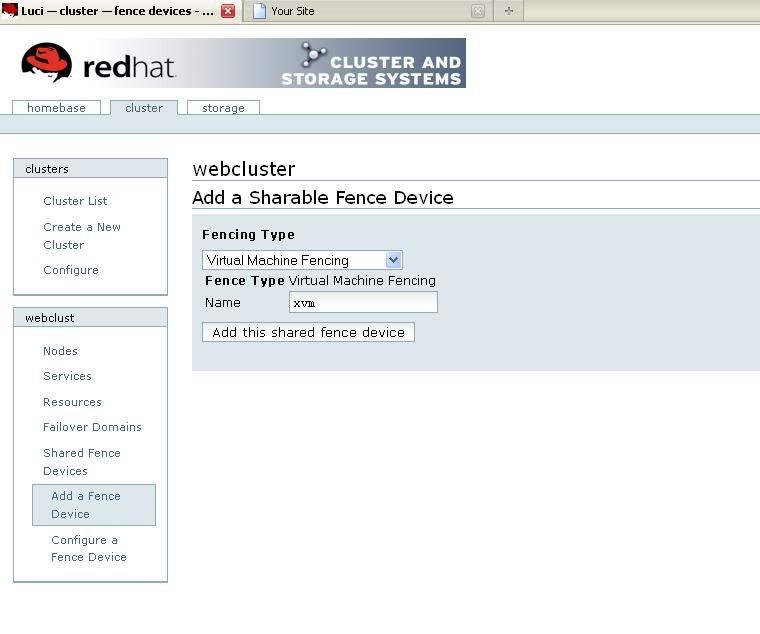
Click on “Add this shared fence device”
Our fencing mechanism is ready.
Now we have to add this fencing mechanism to our cluster nodes
Cluster Configure Select Webclust->Nodes->xen1.ansil.com->Main fencing methodà
Add a fence to this level
Select xvm(Virtual machine fencing) from drop down list
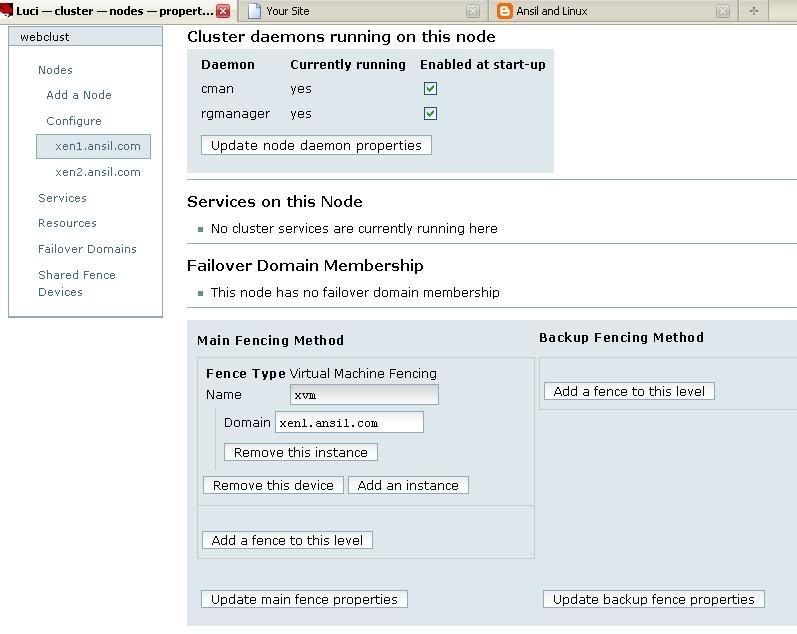
Click on Update main fence properties.
Do the same for xen2.ansil.com
…………………………………………………………….
Now we have to test our cluster Setup….so check your cluster status.
Create one index.html in /var/www/html on both nodes
Login to one of your Node and type
#clustat
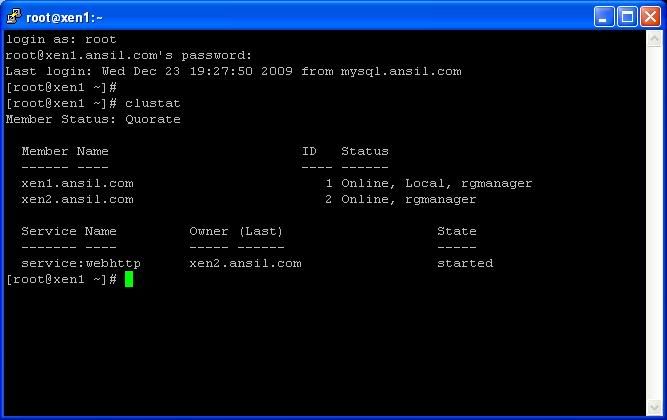
Here you can see the cluster is in Quorate state
Members in cluster
Status and resource manager
Service name - Owner of service - and state.
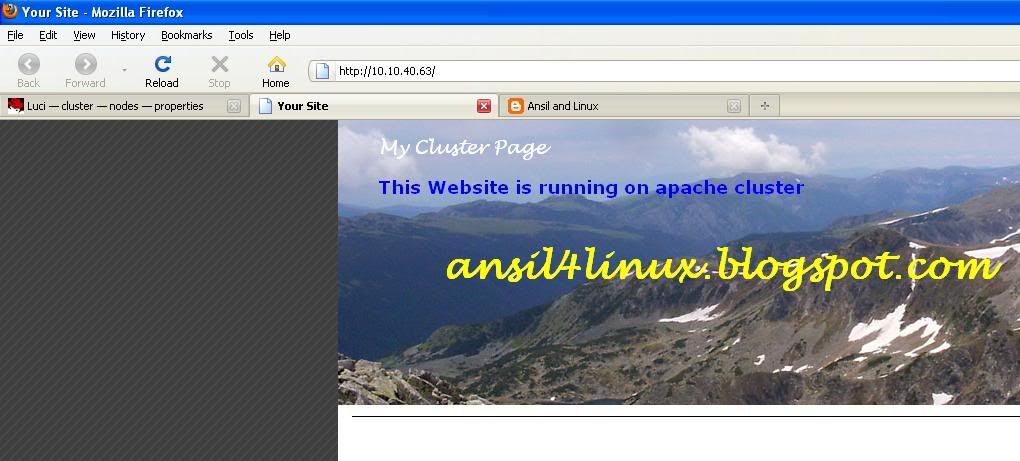
Now open your browser and type http://10.10.40.63

Yes My Website is running on cluster IP……!!!!!!!
Now we have to test our failover
So check in which node currently active

Ok…xen2.ansil.com is active..
First we will stop web service on xen2.ansil.com…
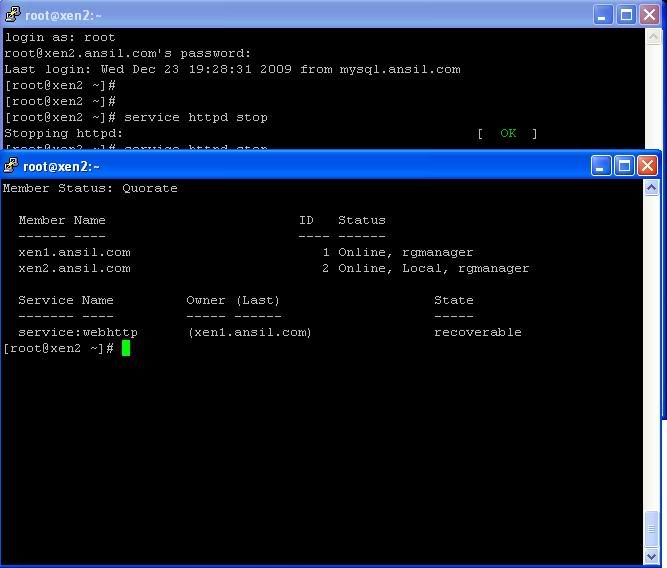
I’ve stopped apache on xen2 and cluster state shows “recoverable”…!!!!
And owner changed to xen1.ansil.com…yes our service shifted to xen1.ansil.com….
But after a moment the service came back to xen2.ansil.com
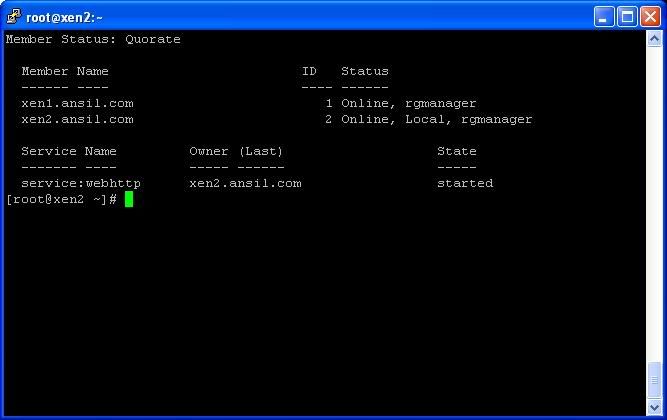
Cluster Suit will restore the service if it is recoverable….!!!!!
Now we are going to shutdown xen2.ansil.com….here we will see actual failover….
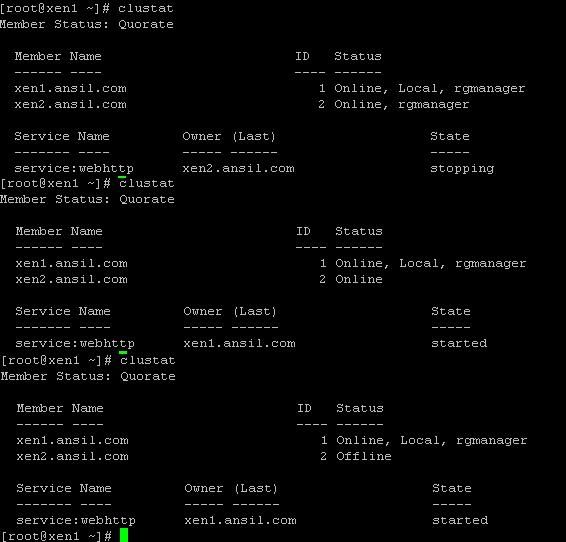
The above picture will give the full picture to you…analyze it and note down the changes…and check your website..
Yes xen2.ansil.com is off line and what about our website…!!!? Let’s check…
Check your Cluster ip
# ip addr list
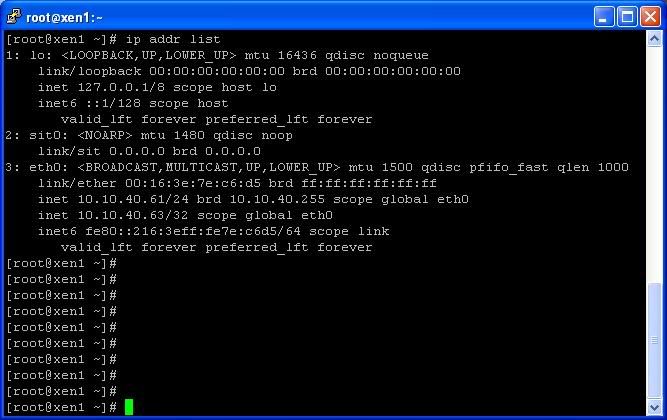
Yes Still Working… “ON xen1.ansil.com”
Thanks
Ansil Hameed
ansil4linux.blogspot.com
Note:- # dd if=/dev/urandom of=/etc/cluster/fence_xvm.key bs=4k count=1
Comments
Post a Comment